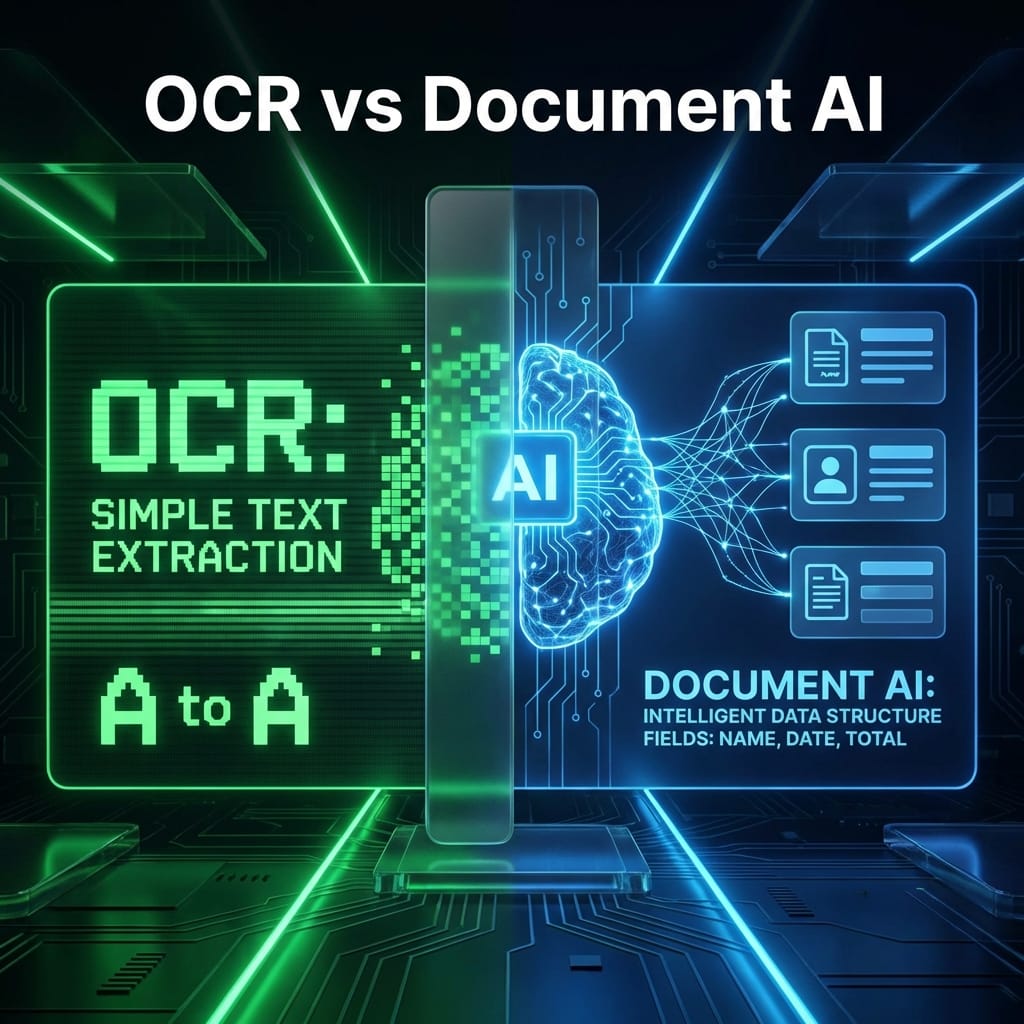
If you’ve ever tried to extract data from dozens of PDFs, you know how quickly the task turns into chaos. Manual copy-paste work, inconsistent layouts, and OCR errors make it a nightmare—especially when accuracy matters.
That’s exactly why I built the Document AI Starter: a simple, ready-to-run workflow powered by Google Cloud Document AI Form Parser and Python. It’s designed to help developers, analysts, and automation builders go from unstructured PDFs to clean, structured outputs in just a few steps.
Last verified: May 13, 2026. Google Cloud setup screens, IAM role names, and Document AI pricing can change. Confirm current setup details in the Document AI documentation and current rates on the Document AI pricing page.
 (Workflow Overview - Upload → Process → Export → Report)
Phase 1: Setting Up Google Cloud
Everything begins in the Google Cloud Console. To make Document AI work, you create a dedicated project, enable the API, create a processor, and give your application a safe way to authenticate.
This identity is what lets your local tool talk to Google Cloud without using your personal login.
Setup Highlights
- Create a new project, such as
document-ai-starter. - Enable the Document AI API.
- Create a Form Parser Processor in the region you plan to use.
- Create a dedicated service account, such as
docai-form-parser. - Assign only the roles the tool needs, such as Document AI API User for processor access.
- Choose an authentication method:
- Prefer Application Default Credentials or a managed runtime identity when deploying to cloud infrastructure.
- If you use a local JSON key for a tutorial, store it outside the repo, add it to
.gitignore, rotate it regularly, and delete it when the project is done.
💡 Security note: A service-account JSON key is a long-lived secret. Never commit
gcloud_key.jsonto GitHub, never paste it into a blog post or support ticket, and avoid sharing it through chat or email.
💡 Processor ID tip: Each processor has a unique resource path that looks like
projects/your-project-id/locations/us/processors/1234567890abcdef. You’ll paste the project, location, and processor ID into your configuration file later.

Phase 2: Configuring the Local Environment
Once the Google Cloud side is ready, the local environment connects it all.
You only need two configuration files:
.env– holds your local credentials path or environment-specific settings.config.yaml– defines project details like processor ID, output folder, and the price assumption used for estimates.
Example:
project:
  id: your-project-id
  location: us
  processor_id: your-processor-id

paths:
  output_dir: outputs
  log_file: logs/usage_log.csv

processing:
  # Form Parser public pricing assumption checked May 13, 2026.
  # Do not reuse this value for every Document AI processor.
  cost_per_page_usd: 0.03
Once saved, activate your virtual environment and install dependencies:
python -m venv .venv
.venv\Scripts\activate
pip install -r requirements.txt
Now you’re ready to process files using either the CLI or Streamlit UI.
Phase 3: Running the Extraction — CLI or Streamlit
The CLI mode is perfect for batch jobs and automation testing:
python -m core.cli --file sample_data/2.pdfOr process all PDFs in a folder:
python -m core.cli --batchPrefer a graphical interface? Launch the Streamlit app and upload PDFs directly from your browser:
streamlit run ui/streamlit_app.pyYou’ll see the parsed data appear live, including field names, confidence scores, and cost estimates per page.
Result example:
📄 File: 2.pdf
🧾 Pages: 2
💰 Estimated Cost: $0.06
✅ Extraction Completed
Phase 4: Output and Reporting
The Document AI Starter automatically creates:
| File | Purpose |
|---|---|
.xlsx | Clean structured data |
.json | Raw AI output |
usage_log.csv | Cost, confidence, and file metadata tracking |
summary_dashboard.xlsx | Aggregated performance and spend summary |
Every extraction is logged for transparency, allowing you to monitor cost, review confidence levels, and build your own reporting dashboards.
Key Takeaways — Build Once, Scale Anywhere
Building the Document AI Starter taught me an important lesson: automation should be simple, secure, and repeatable.
By combining Google Cloud’s pre-trained models with a clean local interface, we can empower non-developers and small teams to perform tasks that used to require full data-engineering pipelines.
If you’re looking to integrate AI-based document extraction into your workflow, the Starter edition is a strong foundation. You can expand it into an internal automation tool, add Power Automate triggers, or connect it to a database for continuous ingestion.
Wrap-Up — Download the Starter and Try It Yourself
The Document AI Starter is available for free download.
You’ll get:
- The pre-configured Python project.
- The Google Cloud setup PDF.
- Step-by-step environment instructions.
Ready to build your own document AI workflow? Download the Document AI Starter and follow along with this post to bring your first extraction pipeline to life.